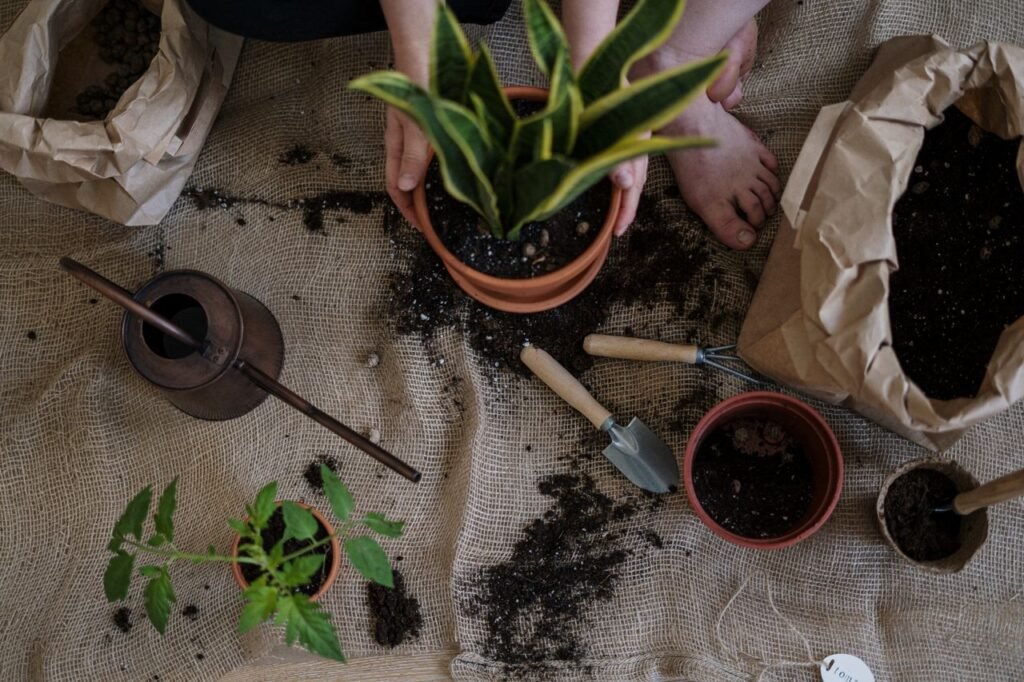
Growing an indoor herb garden is one of the most satisfying ways to elevate your cooking, brighten up your living space, and save money on store-bought produce. Having fresh basil, mint, or thyme right at your fingertips turns simple home-cooked meals into restaurant-quality dishes.
Starting an indoor herb garden requires no large backyard or advanced gardening knowledge—just a bright window, proper drainage, and basic care routines.
1. Top 5 Best Herbs for Indoor Beginners
Not all herbs adapt equally well to indoor conditions. Start with hardy, high-yield varieties that thrive in containers:
| Herb | Light Requirement | Watering Needs | Harvesting Tip |
| Basil | High (6–8 hours direct light) | Keep soil consistently moist, not soggy | Pinch from the top stem leaves to encourage bushy growth. |
| Mint | Moderate (4–6 hours bright light) | High; likes damp, well-draining soil | Always plant in its own individual pot—it spreads aggressively. |
| Chives | Moderate to High (4–6 hours) | Moderate; let top inch of soil dry out | Snip from the base with kitchen shears like grass. |
| Parsley (Flat-Leaf) | High (6 hours direct light) | Keep evenly moist | Cut outer stems first near the soil line. |
| Thyme / Rosemary | Very High (6–8 hours direct light) | Low; allow soil to dry out between waterings | Prune tender woody stems regularly to prevent leggy growth. |
2. Step-by-Step Guide to Setting Up Your Garden
3. Essential Indoor Herb Equipment Setup
If natural window lighting is sparse in your apartment or home, setting up a compact grow shelf keeps your herbs thriving year-round.
4. Key Rules for Harvesting and Long-Term Care
To keep your indoor herbs producing fresh leaves continuously throughout the year, follow three basic maintenance habits:
-
Never Harvest More Than 1/3 at Once: Removing more than one-third of a plant’s foliage at a time shocks the system and slows down regrowth.
-
Pinch Off Flower Buds Immediately: When herbs like basil or oregano begin to bloom, their energy shifts away from leaf growth toward seed production, making the leaves taste bitter. Snip off any visible flower buds right away.
-
Rotate Pots Weekly: Plants naturally lean toward light sources. Give your pots a quarter-turn every few days to ensure even growth on all sides.
By picking forgiving herbs, providing ample light, and ensuring adequate pot drainage, your indoor kitchen garden will yield fresh flavors for months to come.