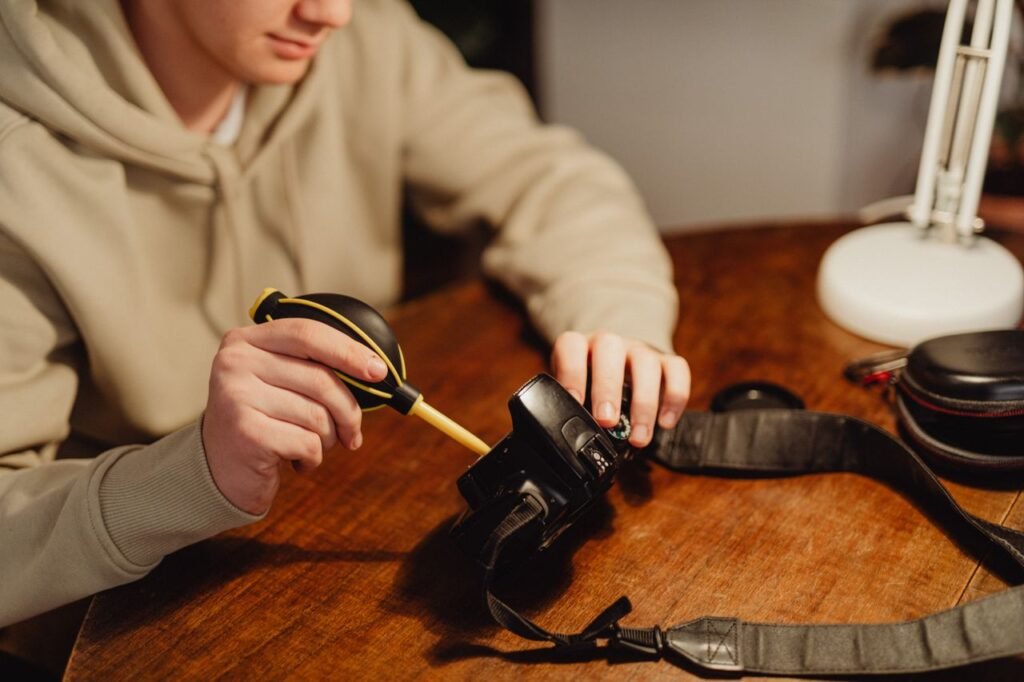
Over time, dust, pet hair, and debris accumulate inside desktop PCs, laptops, game consoles, and keyboard switches. Beyond looking unsightly, dust build-up acts as an insulator that blocks airflow, causes overheating, degrades battery performance, and can eventually lead to hardware failure.
Cleaning sensitive electronic components requires a delicate touch. Using the wrong liquid cleaners, static-generating tools, or improper techniques can permanently damage circuit boards and connectors.

1. Essential Cleaning Supplies You Need
Before opening or cleaning any electronic device, assemble the correct non-abrasive, anti-static tools:
-
Compressed Air Can or Anti-Static Electric Duster: For blowing dust out of heatsinks, fans, ports, and keyboard gaps.
-
90%+ Isopropyl Alcohol (IPA): High-purity alcohol evaporates rapidly without leaving moisture behind, making it safe for circuit boards and metallic contacts.
-
Microfiber Cloths: Ultra-soft, lint-free cloths that lift grime without scratching delicate screens or plastic chassis.
-
Soft-Bristled Anti-Static Brushes or Precision Swabs: Ideal for loosening stubborn dirt from fan blades, grills, and small crevices.
Caution: Never use household glass cleaners, paper towels, dish soap, or high-powered air compressors intended for tires, as they generate static electricity or blow moisture directly onto live components.
2. Step-by-Step Procedure for Safe Cleaning
Follow this structured sequence to clean your electronics safely:
3. Specific Hardware Guidelines
| Hardware Category | Recommended Approach | What to Avoid |
| Monitors & Touchscreens | Wipe gently with a dry or water-dampened microfiber cloth in straight lines. | Never use alcohol, ammonia-based cleaners (Windex), or paper towels on anti-glare coatings. |
| Keyboards & Mice | Use compressed air between keycaps; wipe down surfaces with an IPA-dampened microfiber cloth. | Avoid soaking switches or submerging boards in water unless completely disassembled. |
| Ports & Cable Jacks | Gently remove lint from USB-C or Lightning ports using a non-conductive wooden/plastic toothpick or soft brush. | Never insert metal paperclips or needles into charging ports. |
Preventive Habits for Dust Control
To keep your devices clean longer, elevate desktop PCs off carpeted floors onto hard surfaces, keep pets away from active workspaces, and perform a light dusting routine every 3 to 6 months.