An accent wall is one of the fastest, most cost-effective ways to transform a room. By introducing a single focal wall featuring a bold color, geometric pattern, or deep contrast, you can anchor furniture, highlight architectural features, and add depth to an otherwise neutral space.
While painting a single wall seems simple, achieving razor-sharp lines and a smooth, streak-free finish requires pro-level prep work and the right technique.
1. Choosing the Right Wall & Color Scheme
Before opening a paint can, select the wall that naturally draws attention when entering the room:
-
Natural Focal Points: Choose the wall behind a main anchor piece—such as a bed headboard, a living room sofa, a fireplace, or a TV console.
-
Avoid Broken Walls: Steer clear of walls interrupted by multiple large windows, doors, or built-in closets, as they break up visual continuity.
-
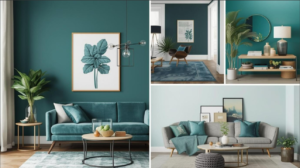
Contrast Rule: Select a color that is at least 2–3 shades darker (or distinctly different in undertone) than the surrounding walls to create intentional contrast.
2. Essential Tools & Materials Needed
-
High-Quality Painter’s Tape: Blue or green premium painter’s tape (such as FrogTape) for bleed-free edges.
-
Paint & Primer: Satin or Eggshell finish interior paint (tinted primer if switching from light to very dark colors).
-
Angled Paint Brush: 2-inch angled sash brush for precise cutting-in along corners and trim.
-
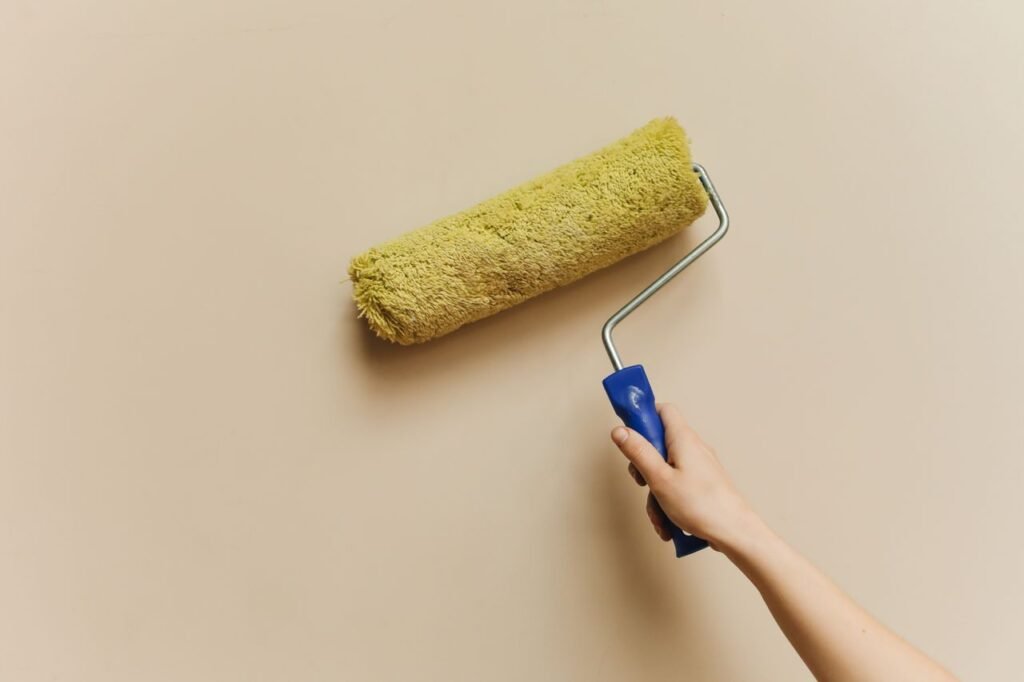
9-Inch Paint Roller & Covers: 3/8-inch nap microfiber roller cover for smooth drywall.
-
Putty Knife & Spackle: For filling nail holes and minor wall dents.
-
Drop Cloths: Canvas or plastic sheet protection for flooring.
3. Step-by-Step Guide to Painting Like a Pro
4. Troubleshooting Common Painting Mistakes
| Problem | Root Cause | Pro Fix / Solution |
| Paint Bleeding Under Tape | Loose tape edges or rough wall texture | Seal tape edges with base wall color before applying the accent shade. |
| Roller Marks / Streaks | Pressing the roller too hard or dry-rolling | Keep a wet edge; reload the roller frequently without applying heavy physical pressure. |
| Peeling Paint upon Tape Removal | Tape left on too long or pulled straight up | Pull tape away at a strict 45-degree angle while the second coat is still slightly damp. |
| Patchy Dark Colors | Skipping primer over light walls | Use a gray-tinted primer under rich dark blues, blacks, or deep greens. |
By prepping thoroughly, sealing your tape lines, and rolling smoothly with quality tools, you can achieve crisp, professional-looking accent walls in a single afternoon.